 |
| Dollhouse miniature plant pots |
I searched google and Youtube for instructional videos and found lots, but I had an idea of how I wanted the pots to look and none of them were quite right, until I found the PERFECT tutorial that exactly matched what I had in mind. It's on the Youtube channel called We Love Miniatures, and you can find it here.
I used this website to make templates for the pots in various sizes.
Here's a copy of my extra large pot, which I plan to use for topiary trees.
 |
| Extra large mini plant pot template |
I also found some templates on a blog called is Amber's House. I tried to subscribe because it's a great blog but it wouldn't let me subscribe and asked me to try again later. You can find it here.
First I printed a bunch of templates on regular computer paper, then I cut them out and rolled them up and glued them to see what the sizes actually looked like next to my doll and shop. Then I chose my favorite sizes and used them to trace the pattern onto card stock. I made the pots out of card stock and added the rim and bottoms as per the video. Then I painted them using brown and gold craft paints side by side, so that I could dip a flat brush in both colors at once, so I could paint a variegated pattern.
I didn't get a great photo of them because the sun was in the back ground, but they did have two tones in the above photo.
I didn't have the powdered grout that was used in the pot tutorial, and thought I could use baby powder or baking soda instead to make a thickener for the clay layers. I did equal parts baby powder, white glue, and a bit of paint, enough to give it color but still leave it thick. I made three of these thicker washes, in white, brown and gold mixed, and green.
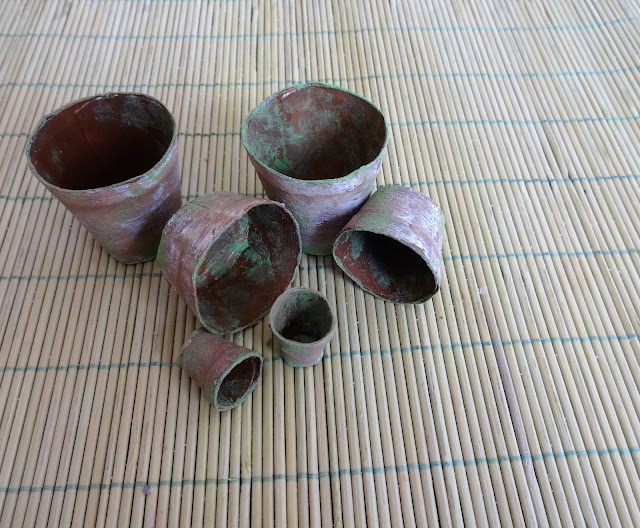
I didn't follow the video exactly. First I gave it a wash with the white texture mix. In the picture below you can see some have the white wash, and others don't. I also didn't bother with the drain holes because my pots will be glued to the base and the bottoms won't be seen at all.
After the white texture wash dried, I went over them all again with the brown/gold wash. Then I added a bit of the green wash, to simulate moss stains. I used a stiff brush and pounced or dabbed the last three layers over again until I was happy with them.
 |
| Miniature "clay" plant pots in various sizes |
 |
| Mini "clay" plant pots |


No comments:
Post a Comment