Welcome to my blog

If you enjoy finding a lot of different outlets for your creativity, then we may just be kindred spirits.
This blog is an outlet for my interest in miniatures, crochet, plastic canvas, and many other various arts and crafts.

I also love walking, taking digital photos, and most recently, have rediscovered an old love...bike riding! I purchased an amazing new bike, a comfy Townie by Electra this summer, and have been having a grand time exploring the area as though for the first time. It's like being a kid again!

If you enjoy any of these things too, pour a cup of coffee and tea, sit down, and join me.


Take care!
Kat
Showing posts with label 1 to 1 scale. Show all posts

Monday, May 23, 2016

More Mini Cheese Boards, lol

These things are addictive!
Miniature cheese boards in 1:12 scale
  I had to make another cheese board so my smoked Swiss cheese would have somewhere to go. I tried a brown marble this time, and made it curved on one end, with a hole for hanging it up when empty. Considering the cheeses and crackers are stuck on with liquid sculpey, that will never happen.

Miniature cheese board in 1:12 scale

I also made a little bowl of olives, and some olives. I tried black, green, and Kalamata olives.  The bowl was super easy to make; I just rolled a small ball of clay and used a large dotting tool to make the indentation for the inside.
Mini cheese tray with olives
I made some apples...or tried to, lol.  I added them to the big cheese board, along with a slice of smoked Swiss cheese.  Other than that, this board is the same as it was yesterday; I just glued everything in place with liquid Sculpey today.
Mini cheese board
Mini cheese boards with real life hotdog bun
 I misplaced my penny so I put a bun in with the cheeseboards, to show scale. It's quite a small hotdog bun so I took another photo, with my finger, to show scale. 
Mini cheese board with finger to show scale
I had a blast and would love to make even more of these, with some salami next time, lol.
Why are minis soooo very addictive? 

Mini Cheese Board with Crackers and Cheese

I worked hard all weekend and made more crackers and some cheese to go with my cheese boards.
1:12 scale miniature cheese board with crackers and cheese
Doesn't it look yummy?  I had to stop and eat cheese after seeing the photos, lol.  In person, the cheddar just looks like little tiny specs to me, but once the picture is enlarged like this, it looks good enough to eat.  My crackers are a little too thick, but still make me want to eat them, lol.  That's so bad; talk about food obsessed, lol, that polymer clay food makes me hungry.

1:12 scale mini cheese boards with cheese and crackers (polymer clay)
I made 3 trays in total, soda crackers, ritz crackers, and 4 different kinds of cheese.  The swiss cheese was still in the oven when I took these photos.  I mad eso many crackers that I had to find printable cracker boxes online so I could store the extras.  I even made little bags out of waxed paper to fit inside the boxes.

Mini Cheese Boards

Mini Cheese board with cheddar
Mini cheese boards
I had a blast making these. 
Thanks for visiting!

Mini Friends and Mini Cheese Board

I have a mini friend in town who was a facebook friend only, until we decided to meet up in person.  Her name is Alicia and she's great; funny and kind and a pro at making minis.
Mini Visit with New Friend
Before we settled on a time, Alicia suggested that I watch a new tutorial series on Joanne's minis.
The series in in 4 parts and the link takes you to the first, a marble cheese board.  The second part is about how to make crackers, the third is cheeses, and the fourth is fruit.
 Alicia had already made the cheeseboard and cheeses, etc., and suggested I give it a go.  She even brought her own supplies, and gave me some pre-marbled clay to try.
Mini marble cheese boards
In the photo above, the small rectangular board was made with the clay Alicia gave me.  The big rectangular board is made with my own clay (I had to try it myself), and the rounded tray is made with a mixture of both clays.  I used my doll clay (Living doll) for my crackers (and tinted them with chalk pastels).

It was so nice to meet in person and we spent hours making minis, talking, and laughing.
Alicia had already done the cheese boards so she made pies for her Mom's mini bakery.
Alicia's pies
Unfortunately the pie crust on one broke when she tried to take it out.  She didn't want to bother with checking the convection oven's temperature even though I told her the temp was wonky and couldn't be trusted (I always test it with an oven thermometer so I can find the right temp to bring it up to where it needs to be).  She bakes in her oven, but I'm living at my parents right now and don't want to use their oven.  I know polymer clay is supposed to be safe but I don't want to take a chance.  Plus neither the bird nor I can stand fumes (it could kill her, and make me sick) so I use my convection oven in the basement, with the window opens.  It all worked out in the end though.
Mini Cheese Boards with Crackers
Here's Sadie, posing with the cheese boards.  She probably thinks she's getting a cheese shop next, lol, but I really just use her to make sure I'm making things t o scale, as best as I can, anyway.


Monday, May 2, 2016

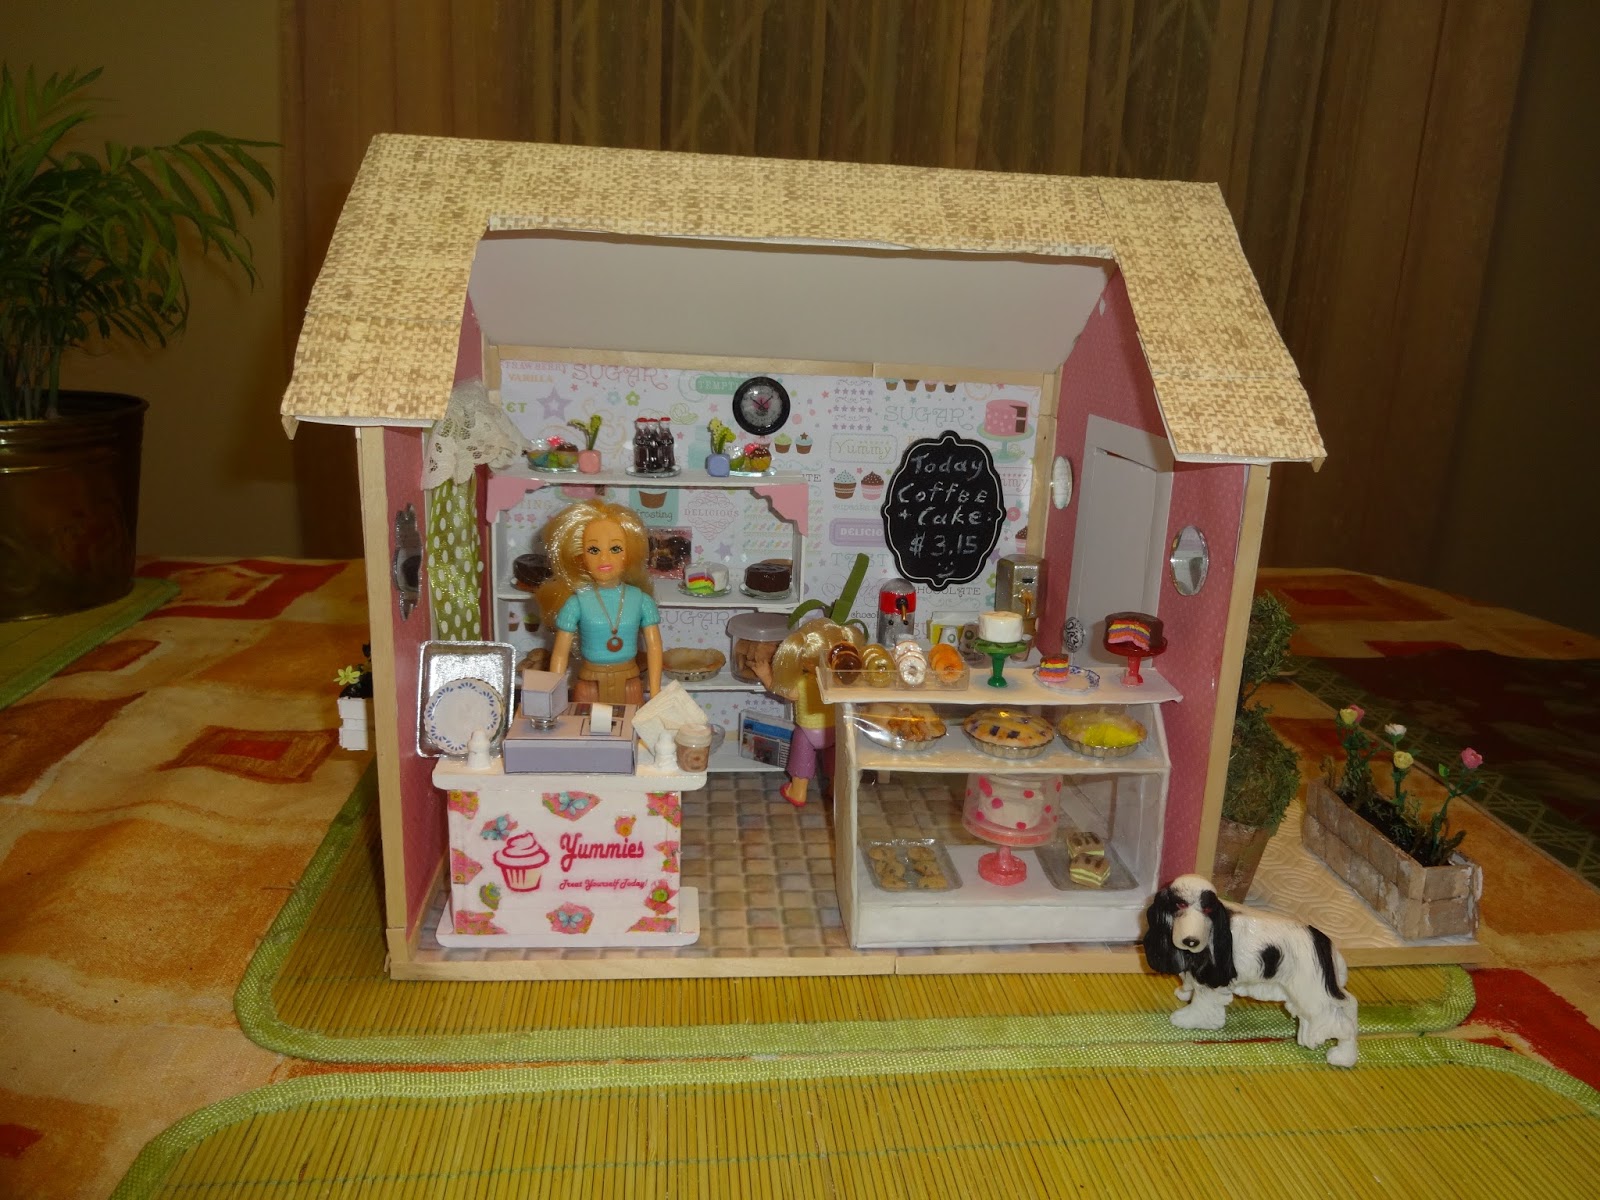
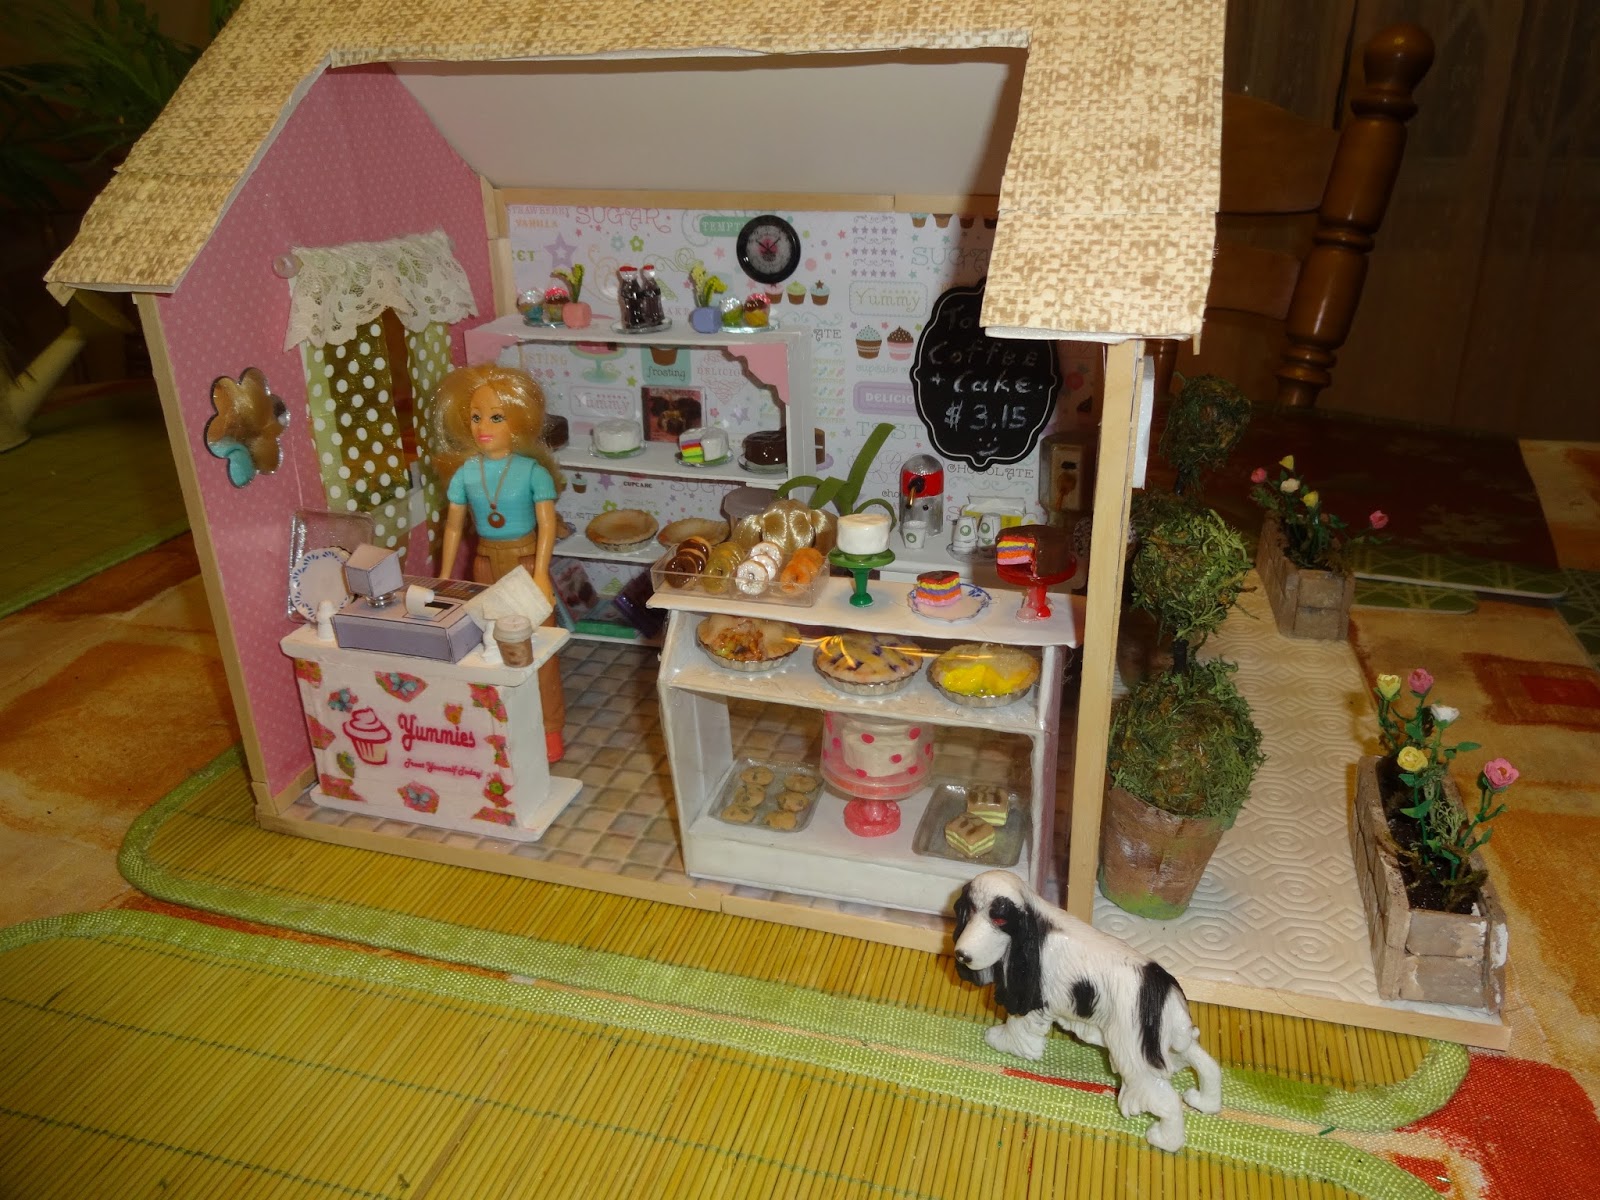
My Bake Shop and Patio are Now Complete; Woohoo!

I can't believe I'm finished.  How exciting, and sad, at the same time, lol.  Here it is!
Bake shop exterior, back
 I am really happy with the way the window box turned out.  The Cupcake Lovers Parking Only Sign looks great, and so does the Coffee sign.  I'm not as pleased with my Store sign; I should have made it with more colors.

 It was dark when I took these photos so I couldn't get a shot of the interior through the window.
Back of mini bake shop
 Sadie, Michelle, and Rufus are very happy with their finished shop.  Rufus is stopping to smell the flowers.
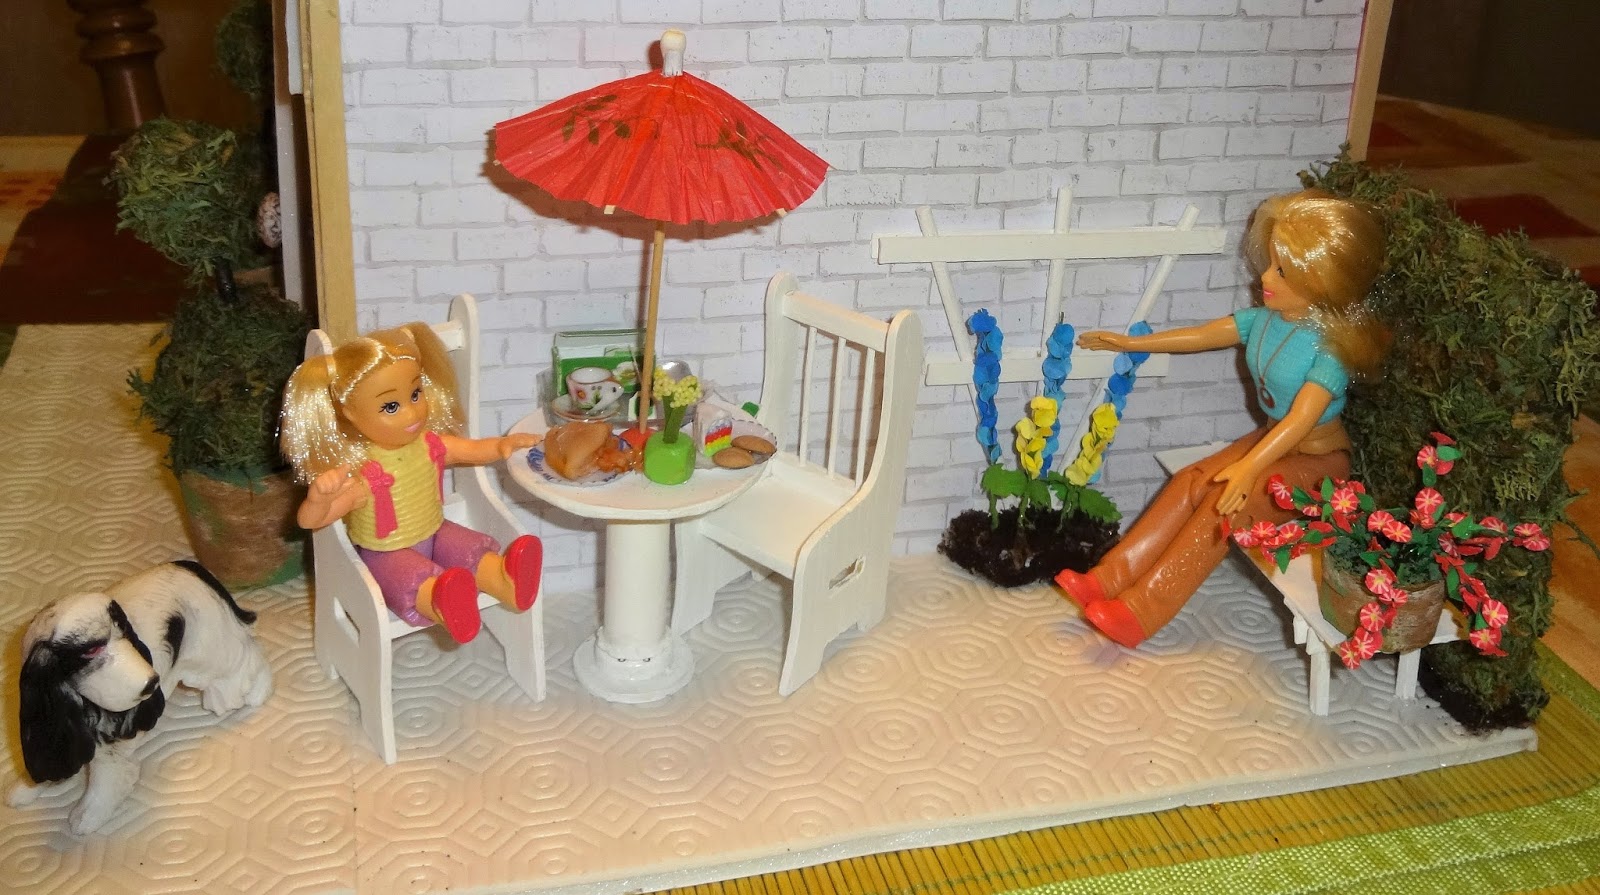
Mini bake shop outdoor patio
 I think the patio section is my favorite part.  I made some cushions for the chairs last night; they were my final minis for this project, and I procrastinated like crazy on the last pillow because I didn't want it to be over, lol.  I also put an extra pillow on the bench, and a folded up newspaper on the pillow.  I added some signs too.  I left room to maybe add a bird feeder or bird house later, lol.
Mini Bake Shop outdoor patio
 The dolls are relaxing on the patio after working hard giving me orders for over a month now, lol.
Mini Bake Shop
 Poor Rufus; I forgot to make his dog dish.  See, maybe I'm not finished after all, lol :-).
Mini Bake Shop Interior
 Michelle is stealing some chocolate chip cookies while her Mum is busy waiting for guests.
Mini bake shop interior
Thank you for joining me throughout this project.  I know I was kind of obsessed with it, lol, so thanks for putting up with my sometimes 3 posts a day :-).  Take care.

Sunday, May 1, 2016

Mini Window Box and Stone Rose Planters

I am finished making mini flowers; woohoo! 
Miniature window box full of flowers
I found the tutorial for the morning glories (blue hanging flowers) at About.com, here.

I made the flowers using my mini circle hole punch, and drew a five armed star shape with a white gel pen. This was similar to the Petunias, except they had 8 lines instead of 5. 

I used the heart shaped punch for the leaves.  Both the flowers and leaves were made from coffee filters that had been painted a few weeks ago, and all were shaped using a ball tipped embossing tool.  The hanging portion of the flowers are glued on to thread.  Yes, I glued flowers on to thread.  It was VERY fiddly and maddening but it was actually easier than gluing the flowers on to the wire.  I did the upright portions on wire, and bent them over. I like Alene's quick dry tacky glue for this.

The other flowers were made using my big border punch that punches out various flower shapes.  I used markers for the centers of some, and for others I painted the end of a wire yellow and pushed it right through the flower.  This worked better than gluing them to the ends of the wire; when I did that, the flowers kept straightening out on me.
Morning glories in progress

I really love the way the morning glories came out.  Blue flowers are my absolute favorite.
Mini long stem roses in stone planters
My rose planters are finished too.  I added some moss for greenery because I felt it needed something.  I love the roses but they'd be better in a vase than in the planters.  The white roses are my favorite; they were all made from coffee filters, but the white were unpainted.  I used acrylics for the red and yellow.  Next time I'm going to try water colors instead.

I enjoyed making the flowers and my Bake Shop Patio is looking so colorful.  I already glued all of these flower boxes into place, and I added some advertising and signage.  I just have to make some chair cushions and I'll be done.  I made one but it looks weird so I have to look at a few tutorials on how to do the corners.  I also suck at wrapping gifts when it comes to corners, lol. 
I added some craft sticks along the patio and roof to give it a more finished look and I'm happy with it.  I think I'm putting off doing the second chair cushion because then I'll be done, and I hate the thought of being done; I had so much fun with this project.


Thursday, April 28, 2016

Mini Delphiniums On Trellis

I am loving the way this turned out!
Mini Delphiniums on trellis
I made 9 delphinium plants but only used 5 in the end, 3 blue and 2 yellow.  I used two layers of left over foam core for the "ground", cut into that shape (see above),  and glued together.  Then I glued the trellis onto the foam core shape, and added the flowers. It was difficult because they didn't want to stick into the foam properly.  Once I had them in place, I used my glue gun to glue the in place, and put glue all over. Then I shook some of my dried coffee grounds over the still hot glue and used a toothpick and my finger to pat it into place.  After I was satisfied, I glued the trellis and plants onto the patio.
Mini delphiniums on trellis
 I may still outline the "dirt" with little rocks; I'm not sure yet. 
Foam Core miniature bake shop patio

Foam core mini bake shop patio
 Sadie and Michelle love the flowers.  Rufus would like a tree (or his fire hydrant back) to pee on, lol.
Dolls relaxing on patio
I still have to fill the two big stone planters that I made for the front of the patio, plus the window box.  I made 8 more roses today; 4 golden yellow, and 4 white, to go with the 8 red I made earlier.  I can tell I'm learning as I go as the new roses are nicer.  The leaves are nicer too.  I will take photos later.  I can't wait until my leaf paper punches come in the mail.  I ordered the maple on one Ebay today as it was the only one missing from the set I bought on Etsy.  The set on Etsy STILL hasn't been shipped. 

Wednesday, April 27, 2016

Delphiniums in Progress

I am almost finished with these Delphiniums; woohoo. They've been taking FOREVER, but I also had to take two days off from minis due to being sick.  I don't know what I have; it started with tummy upset and headache, then yesterday I woke up with laryngitis and a super sore throat and that all over achey-flu feeling.  I still feel awful today but decided to work on my minis in hopes they'd distract me.

The tutorial I used for the mini delphiniums  can be found here.
Mini Delphiniums almost finished
I had the flower parts already done, but was stuck on the leaves.  I ordered some mini leaf paper punches but they haven't been shipped yet so I made these leaves using painting tape and wire.  They came out OK but I didn't like the way the wires all looked wound up together, and the green painting tape was too bright so I painted them with my leaf green craft paint.  I like them a lot better now.  I think another layer or two of paint on the stems will help disguise the twisted wires.  If not, I can always try mixing the paint with some glue to thicken it a bit.

Anyway, a few days ago, I prepared a bunch of stems.  I dipped the tips in yellow for other flowers, and for the delphiniums I added those little tubular beads to the wire to make a thicker part.  I think the tutorial called them bugle beads.   I painted them green to match the stem, and think they'd make great cattails if painted brown instead :-).
 I painted some cone shaped coffee filters last week and used the blue and yellow ones for my delphiniums.  I used my mini circle punch and punched a tiny container full of circles.


I used my ball tool (not sure what it's really called, lol) to indent the circles, using a bit of craft foam underneath to help shape them.


Then I glued them to the bead covered portion of the stem, 3 blossoms at a time.
It was fun building them up; I made some taller than the others.


I found a tutorial online, about how to make ivy, and used it to make these leaves.  You can find the tutorial here.
I used this thin wire, and this wide green painters tape.  I put cut pieces of wire, pushed them down onto the sticky portion of the tape, folded the tape so both sides of the wire were covered in tape (see photo below), and drew leaves, then cut them out.
I did two leaves per flower.

Sadie loves her delphiniums.  I'll like them more after the stems get a few more coats of paint.

Sunday, April 24, 2016

Mini Roses

I read and watched what seems like zillions of tutorials about making mini flowers and plants, but in the end, was rescued by my new mini friend Alicia, who sent me me two tutorials on how to make roses.
Mini paper roses
Here is my first attempt.  First I painted some coffee filters with various shades of pink and white.  Then I used my mini heart paper punch to punch out loads of tiny hearts.  I cut some thin wire and glued on little bits of gold embroidery floss to the tip of the wire.
I didn't take photos as I worked, but in the photo above you can see the embroidery floss before I trimmed it down.
Mini Roses
 The first few hearts were very difficult to glue onto the wire because they had to be folded around the embroidery floss.  I added two petals at a time and then let the glue dry.  I used Alene's quick drying glue and it worked great.  It was a lot easier to add more petals once the first few petals were on.
Mini Roses
 I couldn't find a leaf paper punch locally so I ordered some online but they haven't been shipped yet so I tried to make leaves on my own and am not happy with them, so the roses don't have extra stems just for leaves. 
Mini Roses in faux stone planters

I'm happy with the rose blossoms.  I pulled some back with tweezers for fuller roses, and left some wound tightly.

I'm not sure yet if I'm going to make more roses for the planters or not.  I prepared some yellow filter paper, and can use it plain for white roses.  Maybe I'll add a few in other colors, and then try to make some greenery. The roses are just stuck into sponges for now; I have to pick up some styrofoam at the dollar store.
Mini Roses
Sadie is happy with the roses and think they will look nice on her patio. She wants some little trailing plants to hang over the sides of the planters too. Maybe I can use moss for the greenery?

Friday, April 22, 2016

Mini Rustic Stone Planters

I made these rustic faux stone planters today.
Mini faux stone planters


First I grabbed a piece of left over foam core (the stuff I used to make the bake shop).
 I used a ruler to cut straight edges (or try, lol).
 Then I used my craft knife to score brick lines, and another tool (no idea what it's called but it's next to the knife in the pic below) to make the lines wider and round off some of the sharp edges.
 I also cut some edge pieces and did the same for them.
 I applied a silver grey base coat, making sure to saturate the lines.
 Followed by a tan base, and then a white base.  Then I used all three colors and an old, stiff brush and pounced the various colors on until I was satisfied.
 I decided to make two large and two small planters so cut some of the longer pieces in half.  Then I glued them all together using tacky glue.  When the planters were dry, I glued them to card stock so they'd have bottoms.
 After the glue dried again, I cut them out and went over them again with a dry brush, stippling here and there.
Mini faux stone planters
They were super easy to make and I'm happy with the way they turned out.  My Dad said he liked them too.