I am almost finished with these Delphiniums; woohoo. They've been taking FOREVER, but I also had to take two days off from minis due to being sick. I don't know what I have; it started with tummy upset and headache, then yesterday I woke up with laryngitis and a super sore throat and that all over achey-flu feeling. I still feel awful today but decided to work on my minis in hopes they'd distract me.
The tutorial I used for the mini delphiniums can be found
here.
 |
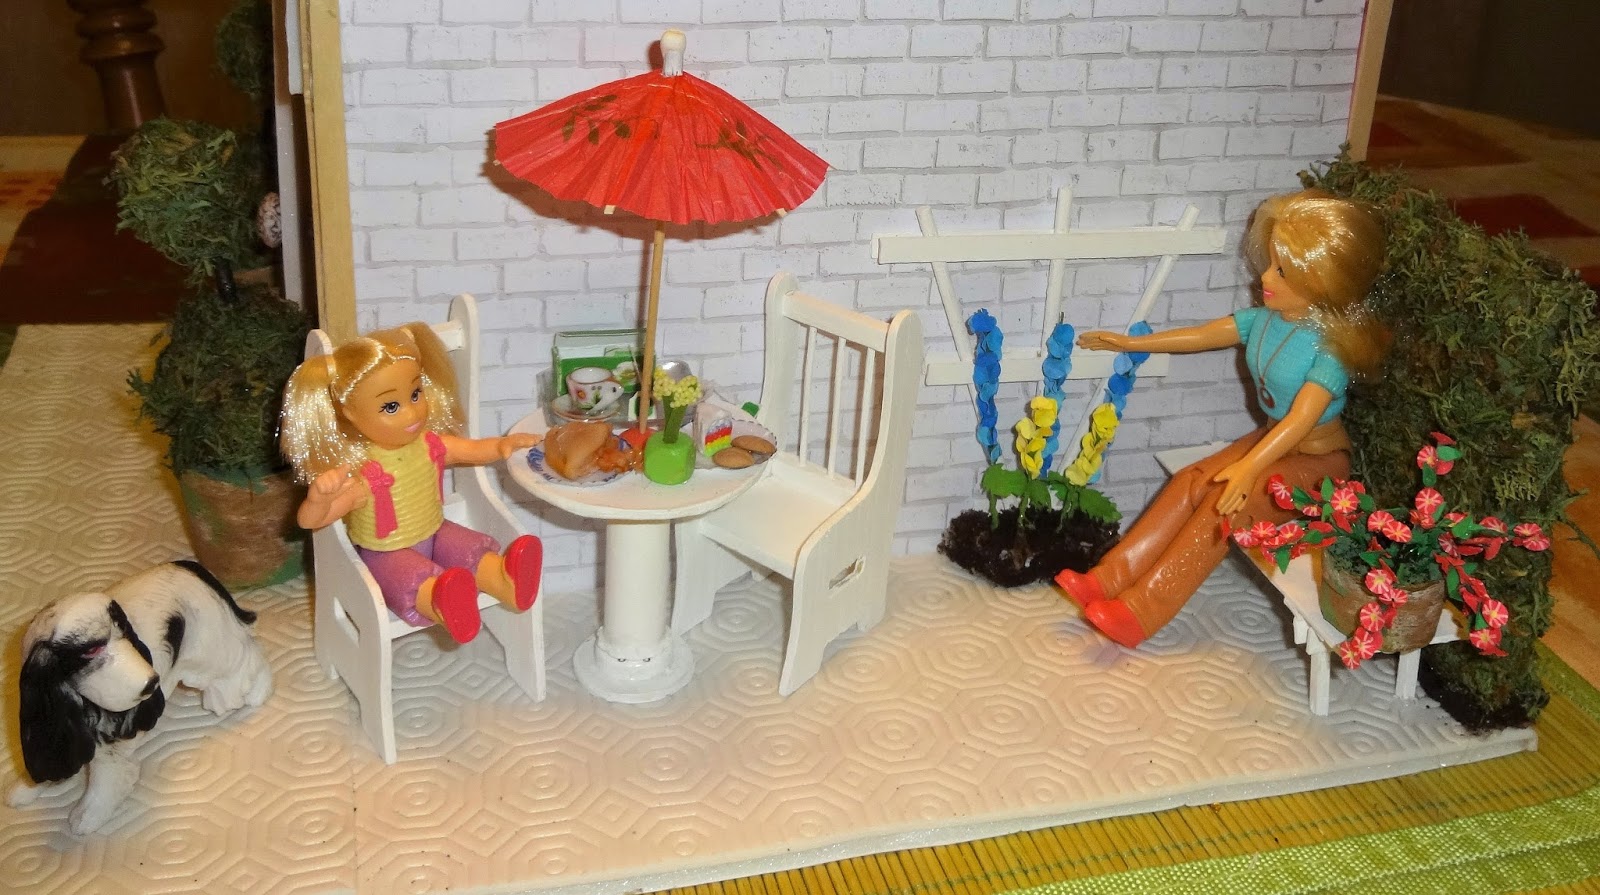
| Mini Delphiniums almost finished |
I had the flower parts already done, but was stuck on the leaves. I ordered some mini leaf paper punches but they haven't been shipped yet so I made these leaves using painting tape and wire. They came out OK but I didn't like the way the wires all looked wound up together, and the green painting tape was too bright so I painted them with my leaf green craft paint. I like them a lot better now. I think another layer or two of paint on the stems will help disguise the twisted wires. If not, I can always try mixing the paint with some glue to thicken it a bit.
Anyway, a few days ago, I prepared a bunch of stems. I dipped the tips in yellow for other flowers, and for the delphiniums I added those little tubular beads to the wire to make a thicker part. I think the tutorial called them bugle beads. I painted them green to match the stem, and think they'd make great cattails if painted brown instead :-).
I painted some cone shaped coffee filters last week and used the blue and yellow ones for my delphiniums. I used my mini circle punch and punched a tiny container full of circles.
I used my ball tool (not sure what it's really called, lol) to indent the circles, using a bit of craft foam underneath to help shape them.

Then I glued them to the bead covered portion of the stem, 3 blossoms at a time.
It was fun building them up; I made some taller than the others.
I found a tutorial online, about how to make ivy, and used it to make these leaves. You can find the tutorial
here.
I used this thin wire, and this wide green painters tape. I put cut pieces of wire, pushed them down onto the sticky portion of the tape, folded the tape so both sides of the wire were covered in tape (see photo below), and drew leaves, then cut them out.
I did two leaves per flower.
Sadie loves her delphiniums. I'll like them more after the stems get a few more coats of paint.