Welcome to my blog

If you enjoy finding a lot of different outlets for your creativity, then we may just be kindred spirits.
This blog is an outlet for my interest in miniatures, crochet, plastic canvas, and many other various arts and crafts.

I also love walking, taking digital photos, and most recently, have rediscovered an old love...bike riding! I purchased an amazing new bike, a comfy Townie by Electra this summer, and have been having a grand time exploring the area as though for the first time. It's like being a kid again!

If you enjoy any of these things too, pour a cup of coffee and tea, sit down, and join me.


Take care!
Kat

Saturday, May 21, 2016

Mini Cat Climbing Tree with Scratch Post and Bowl

I made this cute little cat tree, from my Pet Shop kit from China.
Miniature cat tree with scratching post and toy, 1:24 scale
Isn't it cute?  All of the wood pieces, the legs, bead, and green felt were provided in the kit, along with instructions.

Instructions for mini cat tree
 I don't know if you can tell, but the wood pieces for this item are nice and sturdy; great quality.
Wood parts for mini cat tree
 I glued the pieces together with Alene's Tacky Glue, Quick Grab.
Assembling mini cat tree
The scratch posts are tiny lengths of toothpick or skewer-type wood, wrapped with unraveled rafia type paper.
Making the scratch posts
 The base was just a piece of felt but I found it wasn't sturdy enough that way so I added a piece of cereal box cardboard onto the back.
The base

 After the parts have been glued and allowed to dry, they were glued together.
Pieces of mini cat tree ready for assembly
 I also made a simple pet dish, using a length of corrugated cardboard glued around a cut out circle of cardboard.  The instructions said to use a circle of paper but I wanted it sturdier.
Simple cardboard pet dish
 The cat toy is just a bead glued to a bit of the rafia paper, which I rolled in my fingers to make thinner.
Finished cat tree
Here it is; the glue is still wet in this picture.  I think a mini cat would like this, don't you?

Friday, May 20, 2016

Mini Hassock for Pet Shop DIY kit

I've been going through mini making withdrawal so I decided I'd better continue on with my mini DIY Pet Shop kit from China.  I'm already on Bag number 3; the last bag (see contents below).

Bag 3 of Pet Shop DIY kit
 Here's a close up of the contents:  various bits of fabric, thread, wood pieces, lights, wiring, beads, ribbon, and round metal things (can't think what they're called).  Also cut wood pieces to make a cat scratching post stand, and two round wooden pieces to make what they call a sofa but what we would call a hassock or ottoman.
Bag 3 contents
 The instructions say to start with the "sofa" (aka hassock or foot stool) so that is what I did.  I pulled out the two round wood pieces, some corrugated cardboard from Bag 2, the piece of red felt, and the 3 black beads and put them aside.
Instructions
 Next I measured the corrugated cardboard and cut it according to directions.


 Then I rolled the cardboard around  the edge of one round piece of wood, and glued it in place.  I left some room for the cardboard to overlap a bit, glued it, and put a clip on it until it dried.
 The next step said to glue the second round wood piece on top, so I did that.  It's starting to take shape and looks very cute.
 Then I cut out a paper circle to match the wood circle, traced it onto the red felt, and cut that out.  I also cut a long strip of red felt to glue along the side of the hassock.
 After the felt was glued in place firmly, I tipped the hassock over and added black beads for the feet.
Adding bead feet to the hassock
 And here it is; a simple but cute hassock.
Completed mini hassock

Thursday, May 19, 2016

Day 5 of 2 week Low Carb Challenge

No pictures today; sorry.  I was so hungry I just ate, lol.
I was supposed to make Garlic Chicken today, but it just didn't appeal to me. 
Here's the link to the recipe, in case you like lots of garlic: Garlic Chicken Recipe

I had chicken stir fry instead, made with all veggies that grow above ground, as per dietdoctor.com rules.  I would normally eat this over rice or in a wrap, and I did plan on making cauliflower rice again (which I LOVE), but I got home late and was too hungry to make it, so I tore up some lettuce, chopped up half a tomato, and poured the stir fry over the lettuce and had a sort of hot salad.  I added a big spoon of sour cream and it was delicious, and nice and light tasting too, which is what I wanted after several days of very strong tasting foods.

Yesterday I skipped breakfast and lunch, and today I skipped breakfast but ate left over low carb pizza for lunch.  I only had a few pieces left because I had to share it with the dogs yesterday, lol, so I was very hungry by supper time.  I only had one serving of the chicken stir fry salad, and by 10 PM I was ravenous. I should have just gone to bed, lol, but I ate a left over piece of pepperoni and some cheese instead.  All low carb/high fat, so hopefully OK.  I had to share with Mac, my standard poodle.  He's been on steroids for a month now and the poor guy is ravenous all of the time.  I've been on steroids myself and know what it does to my appetite, so I can imagine what he is going through.

I walked 4 times this week but I had to give the dogs hair cuts yesterday and my whole body aches today; fibromyalgia is not kind after I spend over 3 hours hunched over double, like I did yesterday.  So no walk today.  My goal was to walk or do some sort of exercise at least 3 times a week, so I met my goal already.  Everything else is bonus.  I wanted to go for my walk, but every bit of me hurts.

Hope you all had a good day, and that nothing hurts on you :-).

Wednesday, May 18, 2016

Dog Stroller

Well,  I've been feeling guilty that my dogs can't walk with my any more.  Benji is almost 16 and is just too old (and blind), and poor Mac has IVDD  (disc disease) that is acting up again after being OK for 4 years. I've been sneaking out for walks late at night so the dogs won't notice, but Mac always wakes up and lies in front of the door, waiting for me to come home.  He looks so sad that he can't come with me for now, so I researched pet strollers and ordered this beautiful blue stroller today!
Pet Gear Expedition Extra Large Stroller
I am so excited; it is huge, made for dogs up to 150 pounds.  Mac only weighs 53 pounds, but he is tall and long, so he'll need the space.  I'm hoping both Mac and little Ben, who is a tiny toy poodle, will fit in this thing together.

I did a lot of research on pet strollers before deciding on this one.  There were some 3 wheel strollers that also convert into bike trailers that looked wonderful, with big air filled wheels and suspension, but the reviews all said they were tippy, and the last thing Mac needs is to be tipped over.

I decided on the Pet Gear Expedition because it had the largest interior dimensions of any stroller I could find online.  Others were larger, but only on the outside.  Plus, 4 wheels make it sturdier; not one review said it tipped; they all said it is sturdy.  Some complained that it was made up of cheap parts, but most of the reviews were positive (I read hundreds of reviews on several different sites).

I found a great deal on this stroller at chewy.com.
I added the link with the sale price that I paid, but I'm not sure how long it will last, so I'm sorry if you're reading this in the future and the sale is over.  
I paid $146.62 US for the stroller, marked down from $189.99. 
Walmart has the same stroller for just under $200 US dollars.
I'm Canadian and our dollar sucks right now so I was thrilled to find the stroller on sale at chewy.com.
They don't ship to Canada but I live on the border and have a US address that I can use, so it's not a big deal.  Plus shipping is free in the US...we NEVER get free shipping in Canada.  Ever, lol.

I am very excited for this to arrive.  A guy from Chewys.com phoned me and said it will probably ship out tomorrow.  My parents are going out of town from Friday until Monday so my Dad won't be able to pick it up until he gets back, so hopefully it won't arrive before he gets home.  I have to renew my driver's license next month and am going to get the kind that allows me to travel to the US without a passport, so I won't have to bug my Dad.  Not that he minds; he likes to go to the casino when he's over there, lol. He also goes over quiet often to gas up his truck; US gas prices are way better than Canadian.

I hope Mac and Ben will like the stroller.  I think they will, once they get used to it.

I have been so busy with doctor, dentist, eye doctor appointments, asthma specialists, allergy tests, and vet visits that I haven't been able to work on my minis for awhile, and I really miss it.  I hope I will have time soon as I'm going into mini-making withdrawal, lol.


Day 4 of Low Carb Challenge, Low Carb Pizza!

Woohoo; pizza!  I love pizza.  This recipe is not something I'd EVER think to make while dieting, but it's part of the plan so woohoo!

You can find the free recipe right here.

There is no bread; the "crust" is made from several eggs mixed with LOADS of pepperoni (1 and a third cups).
Low Carb Pizza
First I had to mix 4 eggs with 6 ounces of cheese. Because I was reading the print out of the recipe without my glasses (my new prescriptions aren't ready yet), and because I have a sort of dyslexia for numbers, I screwed up and did 6 eggs with 4 ounces of cheese, which made it rather runny.  I had to add more cheese to compensate, lol . I probably should have used a blender to mix the egg and cheese mix rather than doing it by hand, because my two circle pizzas turned into one very wonky rectangular pizza, as you can see below

Egg and cheese pizza crust
The recipe said to cook at 400 for 5-10 minutes or until golden brown.  My Mom said never to follow recipes that say to cook over 350 in our oven, so I cooked it at 350.  The edges were turning dark brown after 10 minutes, but I probably could have let it go another few minutes.  I panicked when I saw the dark brown and pulled it out of the oven.


The next step was to add sauce and toppings.  I chose a low carb pizza sauce (can't remember the name but it had 5 grams of carbs per quarter cup),  pepperoni, mushrooms, and mozzarella (talk about a cheese overload, lol).
The recipe said raise the temp to 450 and cook for another 10 minutes or until the cheese is melted and browned.  I only put the oven up to 375 and cooked it for 5 minutes, then put the broiler on to make the pepperoni and cheese bubble and brown.

Low carb pizza
And here's my dinner!  Wonky crusts and all.  It was very good, and I was very hungry because I hadn't eaten all day.  I wasn't hungry at breakfast, and just before lunch I started grooming my dogs and it took 3 hours.  I needed a bath after that, and by then it was time to cook supper; man, was I hungry, lol.  I really enjoyed this pizza, but if I make it again, I'll make some changes.

For one, I'll try to follow the recipe exactly and not reverse numbers (I sucked at math because I always reversed numbers).

For another, I think I'll turn the pizza crust over after step 1 and bake it again for another few minutes so it's crunchy. 

I'll also use a blender next time, to blend the egg and cheese mixture.

That's it; hope you enjoyed my wonky pizza, lol.  I'd love hear what you think of the recipe if you try it.

Take care!

Tuesday, May 17, 2016

Days 2 and 3 of Low Carb Challenge

I made it to Day 3; woohoo!  Sorry I didn't post Day 2 yesterday, but I had to go for a root canal and I fell asleep early last night.
So, Day 2 called for Pesto chicken casserole with feta cheese & olives.
Pesto Chicken
Here's my version.
I really goofed up this recipe, lol.  It tasted good the first day; absolutely yummy, but I did not like the left overs; I don't like strong flavors too many days in a row and this has very strong flavors.

For one, it called for real cream, whipping cream, and I used table cream. I used half the cream and substituted sour cream for the other half in the hopes of making it thicker, like whipping cream.  I think that probably changed the taste a lot.
 It called for red pesto but I think I used too much of it as it was swimming in pesto.  It called for a LOT of feta cheese, the cubed kind, but I only had the grated kind so I used half mozzarella and half feta.
Seriously, fresh out of the oven, this was to die for.  My Dad had some and loved it; even my Mom tried a bit and said it was "good"; high praise from her as she usually criticizes everything me and Dad make.
The dogs begged for it like mad, lol (I let them taste it).

I had it with a romaine salad, with olive oil and raspberry wine vinegar as dressing.  It needed the salad to counteract the richness.

Day 3, today, was supposed to be Pork chops in red pesto but I didn't want to even think about cooking with red pesto so soon.  Also, I was supposed to have the chicken pesto left overs for lunch, but I still had some burgers left over from day 1 and had that for lunch instead.  I had the chicken pesto for supper again today and it wasn't as good as yesterday.

For a side dish, I made cauliflower rice, and it was AMAZING.  I grated half a cauliflower (the florets only) until it was tiny like grains of rice, and sauteed it in the frying pan, in butter, until some of it was golden brown and some was still white, and wow, to die for.
Cauliflower "rice"

Cauliflower rice and chicken pesto

If you want to try the cauliflower rice recipe, you can watch this video.
I had to grate mine because I don't own a food processor, but if you do, this recipe will literally take only minutes to make and prepare, and it's soooo good.

I have not been hungry at all since I started this on Sunday.  It's only Tuesday, and I am already down almost 5 Ibs.  I'm not officially recording that because my weight does fluctuate.

I also have been going for half hour walks every night.  My asthma was bad last night and I wheezed for most of the walk, but I did it, so that's good. I want to try to walk at least 3-5 times per week, if not every day.

So that's it.  I'm enjoying the challenge, and I'm trying foods I never would have tried otherwise.
My favorite so far has been the cauliflower rice, lol.

Sunday, May 15, 2016

Day 1 of the Low Carb Challenge

Well, it was a crazy day but I made it through day 1. 
Day 1 called bacon mushroom cheese burger lettuce wraps, using lettuce leafs instead of buns.
bacon mushroom cheeseburger lettuce wrap from dietdoctor.com


This isn't my picture; it's from the diet doctor website.  Doesn't it look good?

 My Dad was making chicken on the grill so after I made my patties he grilled them for me.  I added some cheddar cheese, and also grilled a portobello mushroom (delish).

I didn't have a chance to take photos because I was so hungry; I skipped breakfast and lunch due to circumstances beyond my control.  So no picture, but they pretty much looked like the ones in the photo, except I used romaine lettuce instead of iceberg, and portobello mushrooms instead of white. 

Taste wise, I didn't miss the bun, but mess wise, I sure did.  I meant to make some oopsie bread to use as buns. The pic below is not mine; it's from the diet doctor website.
Oopsie bread from dietdoctor.com

They're a kind of low carb "bread" made from eggs and psyllium fibre, but I didn't have time.

I also made way too many burgers; I ate 1, my dogs split one, and I have 5 left for tomorrow (3 for me, and 2 for the dogs).

Here's the recipe for the burgers.

Here's the recipe for the oopsie bread.

Let me know how you like them if you try the recipes.

Signed up for the Low Carb Challenge!

Well, this isn't going to be a crafty post, but I'm excited because I am starting a 2 week low carb weight loss challenge today.

I found the Diet Doctor website. 
online, and decided to give it a try.
It's totally free and they offer a 2 week challenge.  I signed up for it and discovered that new challenges start on Sundays...and today is Sunday!  Talk about good timing (for a change, lol).
Some of the recipes look yummy, but others I'll definitely be substituting, for example, I don't eat lamb and one of the days has a lamb recipe.  It will be easy to substitute another meal.
I'm probably not going to follow the recipe suggestions exactly anyway; it's a low carb high fat diet, and my Dad bought a new BBQ so he's been making loads of yummy proteins on the grill....all of which I'm allowed to eat.
The restrictions aren't bad either; I can still have my berries, and all veggies that grow above ground.  For the first two weeks I'm going to cut out root veggies because they are higher in carbs. 
No breads, no pastas, no potatoes, no crackers, no chips, etc., for 2 weeks, and probably longer if it works out.
 Bread and crackers will be a challenge, because I love soda crackers and eat them almost every day to help combat nausea.  My stomach gets upset a lot for some reason and the crackers help. 

I've been on low carb diets before (Atkins and South Beach) and have had really good results on both; 50 Ibs lost on Atkins, and 30 on South Beach, in a short time.  I also had another low carb high protein diet that I bought online years ago and lost a lot of weight following it.  I went off the diets because they were so restrictive and gained the weight back.
This time, I'm only going to try the 2 week challenge, to sort of kick start my weight loss. If I like the results, I'll re-evaluate in 2 weeks time.

OK, well, I have to go grocery shopping now, lol.
Take care, and wish me luck.  Join me if you like; it's fun to do this with others.


Saturday, May 14, 2016

Mini Pet Shop contents: pillows, collars, books, dog bed

I've been busy making these teeny tiny items for my pet shop.
Mini DIY pet shop kit items

The tiny collars are so cute.  They're just strips of felt with little buttons glued on, and the silver part is a silver twist tie (like for tying up garbage bags).  The books have pages, but they're blank, lol. So tiny!  I wanted to get a photo with a coin to show size but the battery on my camera died so it's recharging now.

The white pillow is just three layers of felt, cut in bone shapes and glued together.  The blue pillow is an actual pillow that I sewed and stuffed, with a felt dog paw applique glued on.  The dog bed is ingenious; it's just a printable rectangular box, with strips of rafia paper glued on in the round, so it looks like a basket.  Then a bit of cloth was glued inside.  The dog came with the kit.

DIY mini pet shop kit
So this is what I have done so far.  I have to glue the shelves into the store, and then I can start gluing the items down.  I still have some of bag B to finish, and then I can start on bag C, the final bag.  Then I'll get my Dad to do the wiring for the lighting, lol, and it will be done!  It will still take quite awhile as the tiny items that go inside are very fiddly and time consuming.  I'm enjoying making the items a lot more than I enjoyed making the shop itself.


Monday, May 9, 2016

Min Pet Shop KIt Outside Portion Finished

It took forever to do the outside portion but I'm finally done.
Mini Pet Shop DIY Kit outside
I'm pretty pleased with the way it turned out; it is very cute and sweet.  The hardest part was putting the darn hinges on.  I put them on twice, in the wrong place the first time, and backward the second, and finally had to get my Dad to fix it.  He did, and the front swings open great now.

The front portion consisted of assembling the door pieces and gluing them together, the window pieces, the decorative paws, The awning, hanging sign, including the thing it hangs from, the door knob, the sidewalk, and the cute little welcome sign.  The only difficult part was getting the glue to stick.  I ended up having to use a glue gun to glue the wire hanger for the sign together, then onto the house, and also for the beads that make up the doorknob and to attach the sidewalk strip to the main front piece.  I used the glue that came with the kit for everything else.

 I bought the little pink clips in the above photo at the dollar store and they came in handy, but I need to find some longer ones.  They worked to hold the tall orange sign and the bone sign in place while they dried.  They really helped for the bone, because that was a bit warped and didn't want to lay flat.
In the above photo, you can see how the entire front swings open.

 I decided to start on Step 3, which is the assembly of the contents of package B.  The first two instructions said to make the shelves, which I did.  The glue that came with the kit did not work for these shelves; they kept falling apart. In the end, I used Alene's Quick Grab Tacky glue, and it worked much better.  I didn't line up all of the long pieces on the orange shelf properly because every time I touched it they shifted out of place and after redoing it 5 or more times, I gave up and decided they didn't have to be perfect. 
The kit is very cute but it is very tedious and there is no sense of creativity like there was when I made my bake shop.  I liked the freedom of making whatever I wanted with the bake shop.   This is more like putting a puzzle together, and it's all cutting, placing, and gluing.  I still enjoy it, but I don't get that creative buzz that I like with this.

Tuesday, May 3, 2016

New Project! Mini Pet Storefront Kit

I bought this kit on ebay and it's really cute, and really small, lol. Mine is the Pet World one, circled in yellow below.  If this works out, I'd also like to get a few of the other kits; namely Green's Bar and the little restaurant. The seller shipped quickly considering it came all the way from China.  I'll add the link but I don't know for how long it will work; I guess it depends on how many more kits s/he has.  You can buy your own mini Pet World kit here.
Pet World Mini DIY kit
 The box was shipped from China and this package was inserted into a larger box with lots of protective wrapping.  This kit also had bubble wrap around the parts inside, but I took the bubble wrap out and placed it in the lid for the picture. 
Pet world mini DIY kit
 The kit is extremely good quality, the wood is so much better than my Greenwood kits which I plan to work on this summer.
Pet world mini DIY kit contents
 This kit came with the room box, the cover, a flooring, 3 bags full of little bits of wood, doodads, etc., glue, wiring, a battery holder but no battery, tons of very tiny printables, and some clear sheets for windows.
mini dog
 In the photo above you can see the little dogs. The kit was supposed to contain 2 but they sent me three. They are very cute.  I like the white one best.
 When I saw how tiny the printables were, I scanned them to my computer so I could do practice folds of the smaller pieces.  I am not used to this scale at all; I thought 1:12 scale was small but this is 1:24th scale so even smaller. 


Pet World DIY kit, roombox portion
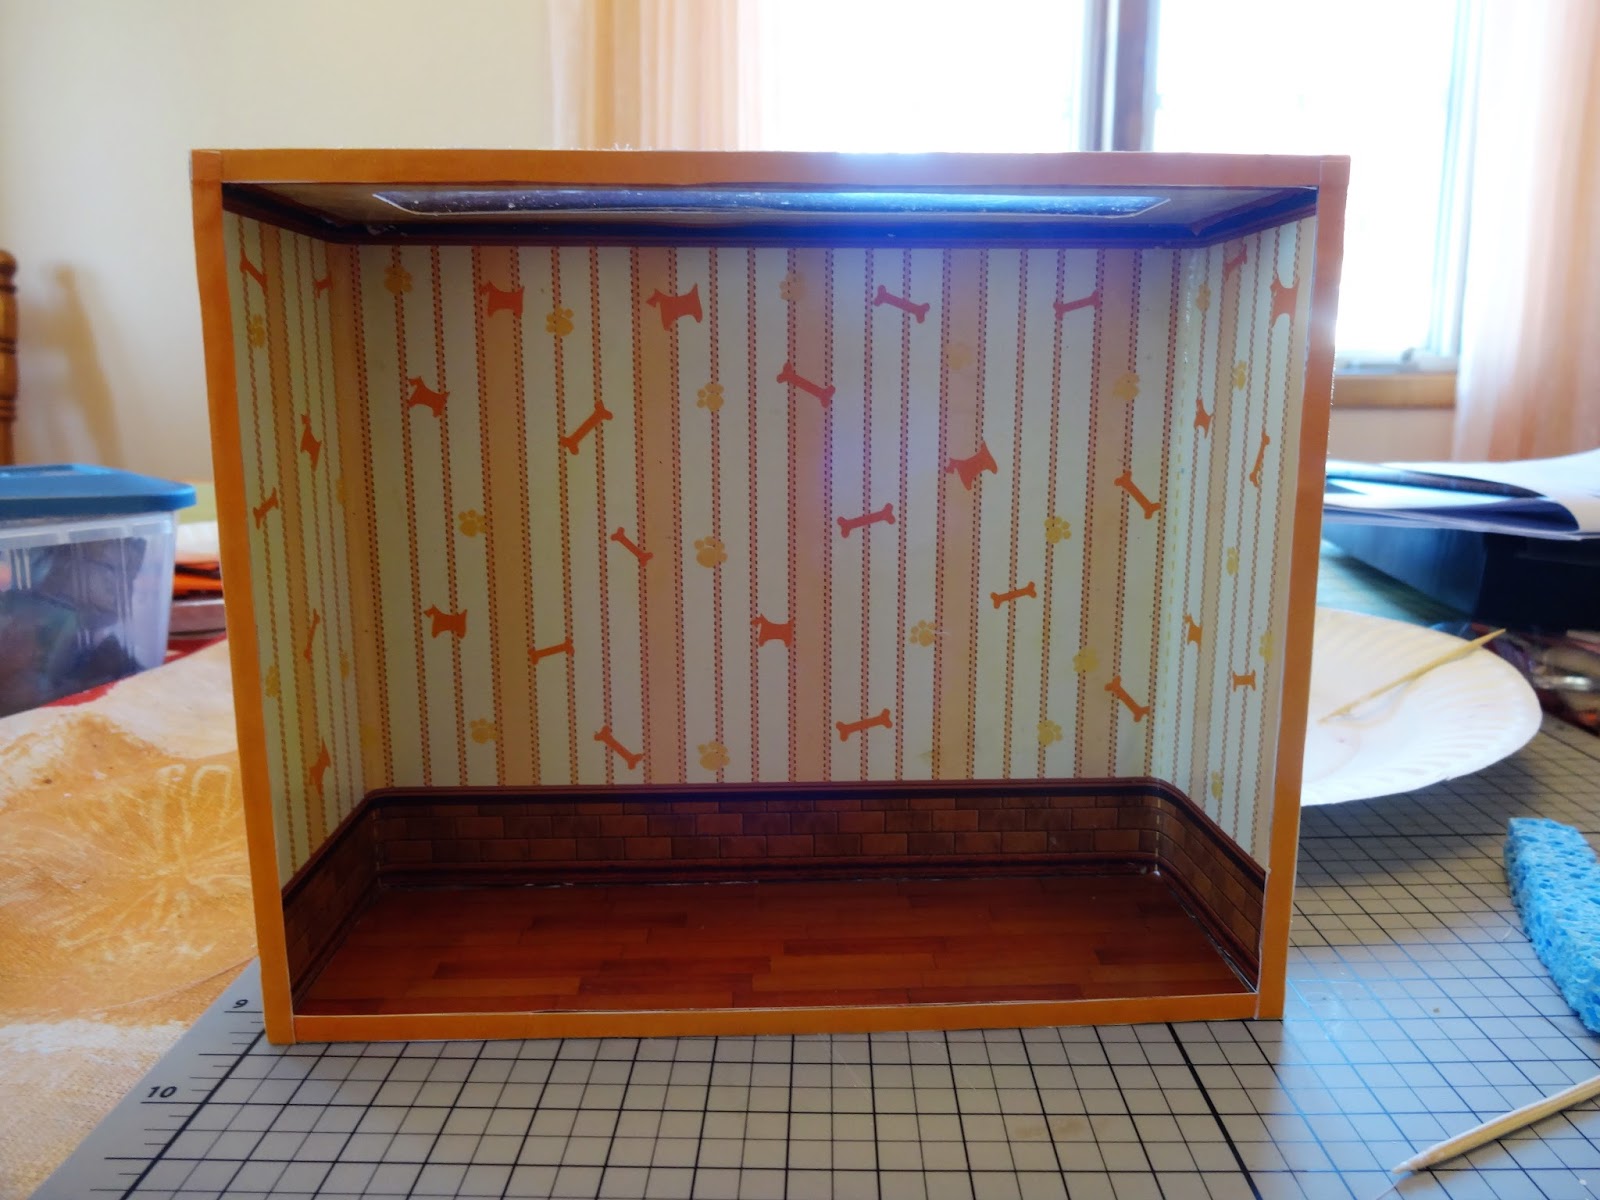
 There's the room box portion of the kit in what looks like my giant hand, lol.
Pet World Mini DIY kit step 1 complete
 In the above photo, you can see step 1 completed.  Basically I had to cut out the wallpaper, roof and floor paper, and tiny ribbons of orange side paper and glue them on.  The roof also had a strip of clear plastic that looks a lot like the old overhead screens.  The glue still wasn't dry when I took this photo; hopefully it will dry clear.  I was actually surprised to get glue at all because in the Ebay auction I was warned that they can't ship the glue and batteries.  I didn't get the batteries but the glue was a nice surprise.
Pet World Mini DIY kit English instructions
The English instructions are OK; easy to understand but the writing portion is pretty sparse.  The photo portion, however is wonderful and tells you exactly what to do, step by step.  I hate cutting things out so this section was very tedious for me, but it looks so cute I don't mind in the end.

For the next section, the Storefront, I have to attach the hinges and screws and I'm a bit worried about that.  I don't know where my tiny screw driver set is.  If I can't find it I'll have to run to the dollar store to get a new set.

So, that's it for now.  It's a very cute kit, and I got it for a great price (20 bucks).  I've seen it sell for 60 on Amazon so if you get one, shop around first.

Monday, May 2, 2016

My Bake Shop and Patio are Now Complete; Woohoo!

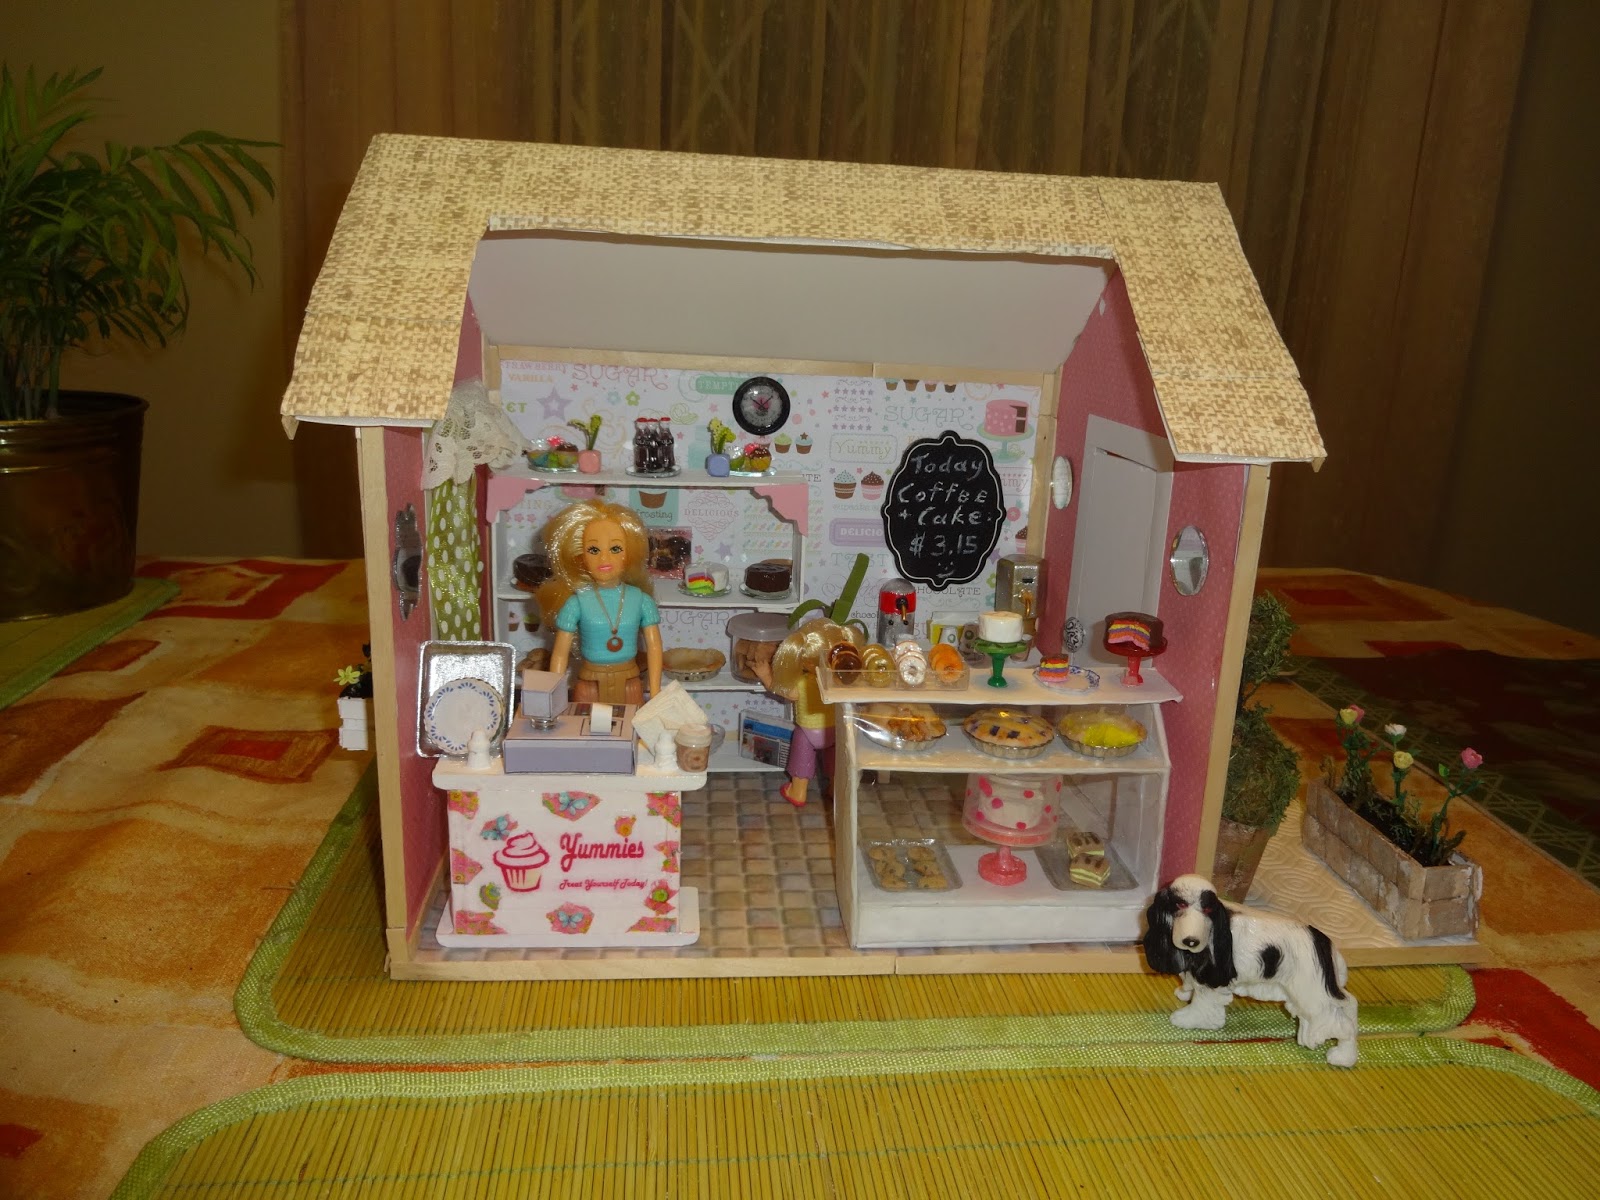
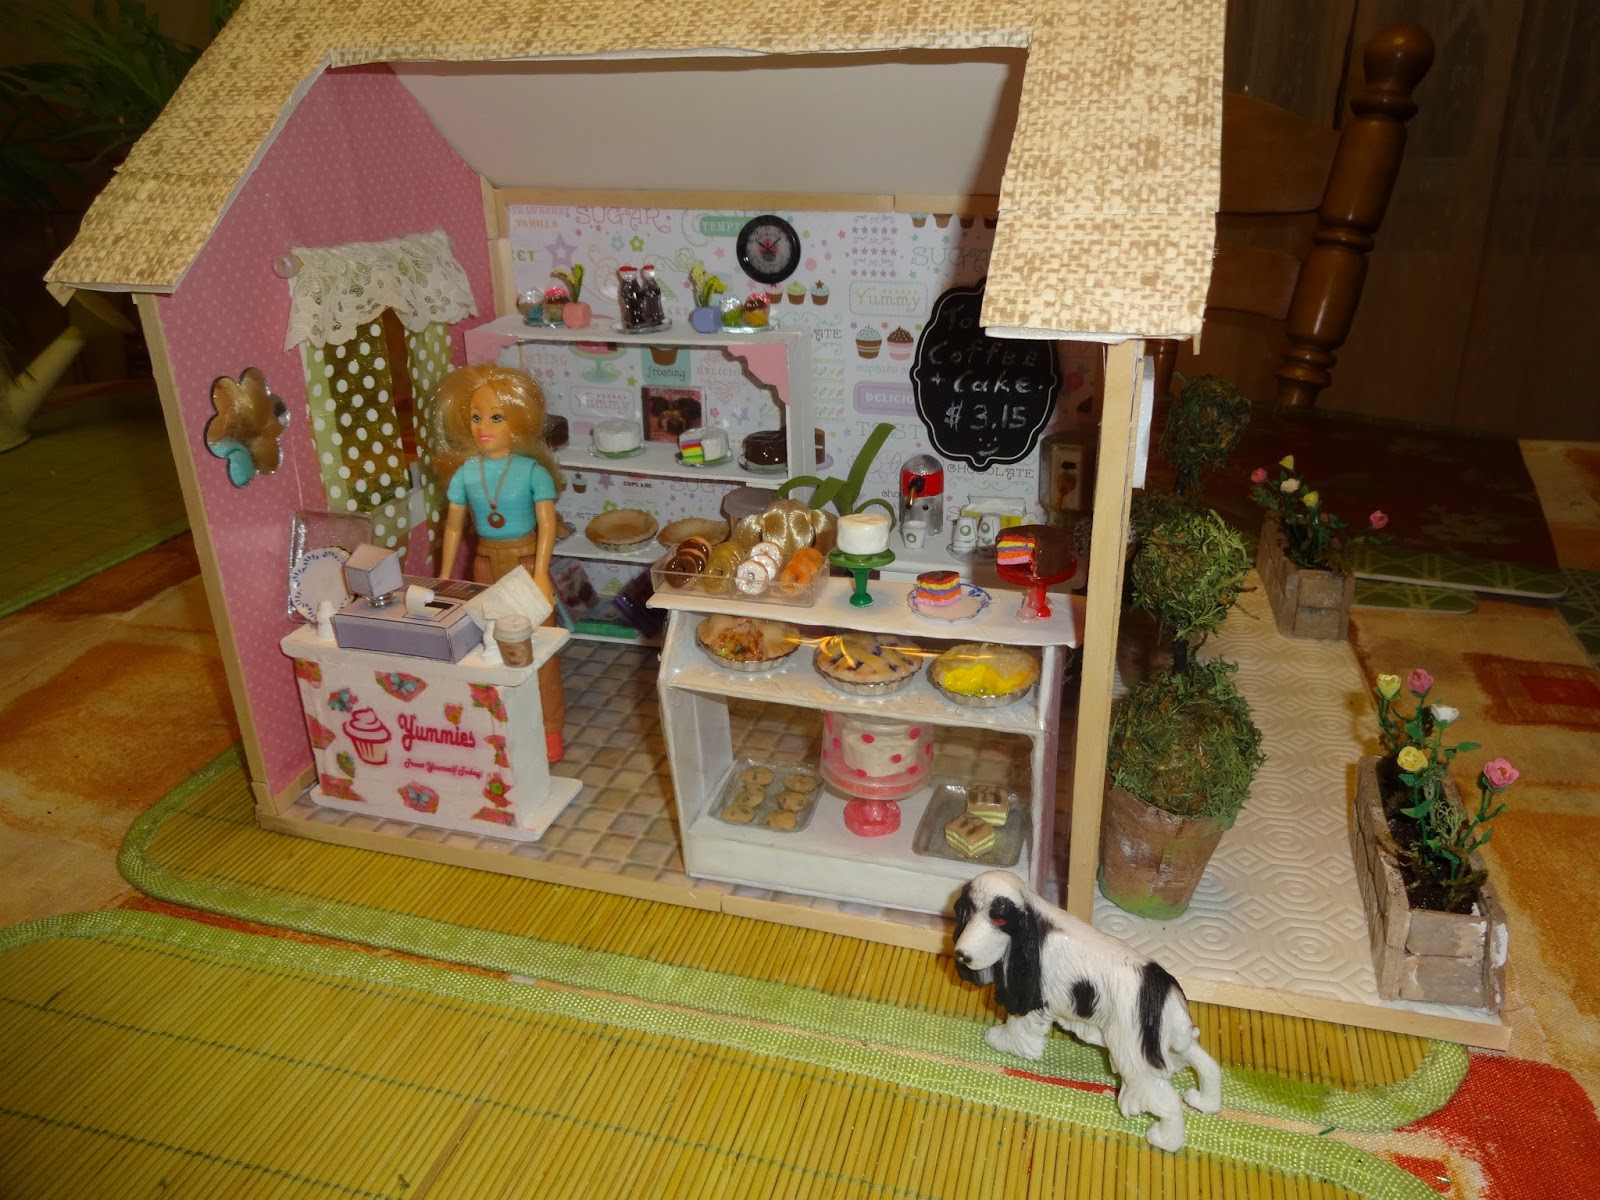
I can't believe I'm finished.  How exciting, and sad, at the same time, lol.  Here it is!
Bake shop exterior, back
 I am really happy with the way the window box turned out.  The Cupcake Lovers Parking Only Sign looks great, and so does the Coffee sign.  I'm not as pleased with my Store sign; I should have made it with more colors.

 It was dark when I took these photos so I couldn't get a shot of the interior through the window.
Back of mini bake shop
 Sadie, Michelle, and Rufus are very happy with their finished shop.  Rufus is stopping to smell the flowers.
Mini bake shop outdoor patio
 I think the patio section is my favorite part.  I made some cushions for the chairs last night; they were my final minis for this project, and I procrastinated like crazy on the last pillow because I didn't want it to be over, lol.  I also put an extra pillow on the bench, and a folded up newspaper on the pillow.  I added some signs too.  I left room to maybe add a bird feeder or bird house later, lol.
Mini Bake Shop outdoor patio
 The dolls are relaxing on the patio after working hard giving me orders for over a month now, lol.
Mini Bake Shop
 Poor Rufus; I forgot to make his dog dish.  See, maybe I'm not finished after all, lol :-).
Mini Bake Shop Interior
 Michelle is stealing some chocolate chip cookies while her Mum is busy waiting for guests.
Mini bake shop interior
Thank you for joining me throughout this project.  I know I was kind of obsessed with it, lol, so thanks for putting up with my sometimes 3 posts a day :-).  Take care.

Sunday, May 1, 2016

Mini Window Box and Stone Rose Planters

I am finished making mini flowers; woohoo! 
Miniature window box full of flowers
I found the tutorial for the morning glories (blue hanging flowers) at About.com, here.

I made the flowers using my mini circle hole punch, and drew a five armed star shape with a white gel pen. This was similar to the Petunias, except they had 8 lines instead of 5. 

I used the heart shaped punch for the leaves.  Both the flowers and leaves were made from coffee filters that had been painted a few weeks ago, and all were shaped using a ball tipped embossing tool.  The hanging portion of the flowers are glued on to thread.  Yes, I glued flowers on to thread.  It was VERY fiddly and maddening but it was actually easier than gluing the flowers on to the wire.  I did the upright portions on wire, and bent them over. I like Alene's quick dry tacky glue for this.

The other flowers were made using my big border punch that punches out various flower shapes.  I used markers for the centers of some, and for others I painted the end of a wire yellow and pushed it right through the flower.  This worked better than gluing them to the ends of the wire; when I did that, the flowers kept straightening out on me.
Morning glories in progress

I really love the way the morning glories came out.  Blue flowers are my absolute favorite.
Mini long stem roses in stone planters
My rose planters are finished too.  I added some moss for greenery because I felt it needed something.  I love the roses but they'd be better in a vase than in the planters.  The white roses are my favorite; they were all made from coffee filters, but the white were unpainted.  I used acrylics for the red and yellow.  Next time I'm going to try water colors instead.

I enjoyed making the flowers and my Bake Shop Patio is looking so colorful.  I already glued all of these flower boxes into place, and I added some advertising and signage.  I just have to make some chair cushions and I'll be done.  I made one but it looks weird so I have to look at a few tutorials on how to do the corners.  I also suck at wrapping gifts when it comes to corners, lol. 
I added some craft sticks along the patio and roof to give it a more finished look and I'm happy with it.  I think I'm putting off doing the second chair cushion because then I'll be done, and I hate the thought of being done; I had so much fun with this project.