Soft Sculpture Stumpkin Babies Dress Up: Instructions For 25 Stumpkin Characters.

OK, so I found this pattern book at a Friends of the Library book sale, and paid a grand total of 10 cents for it . The soft sculpture dolls are adorable, and I haven't made one since I was a kid (I was about 12 when I made a life size panty hose man and dressed him up in my Dad's clothes...I did it for Hallowe'en, to use as a decoration, lol.
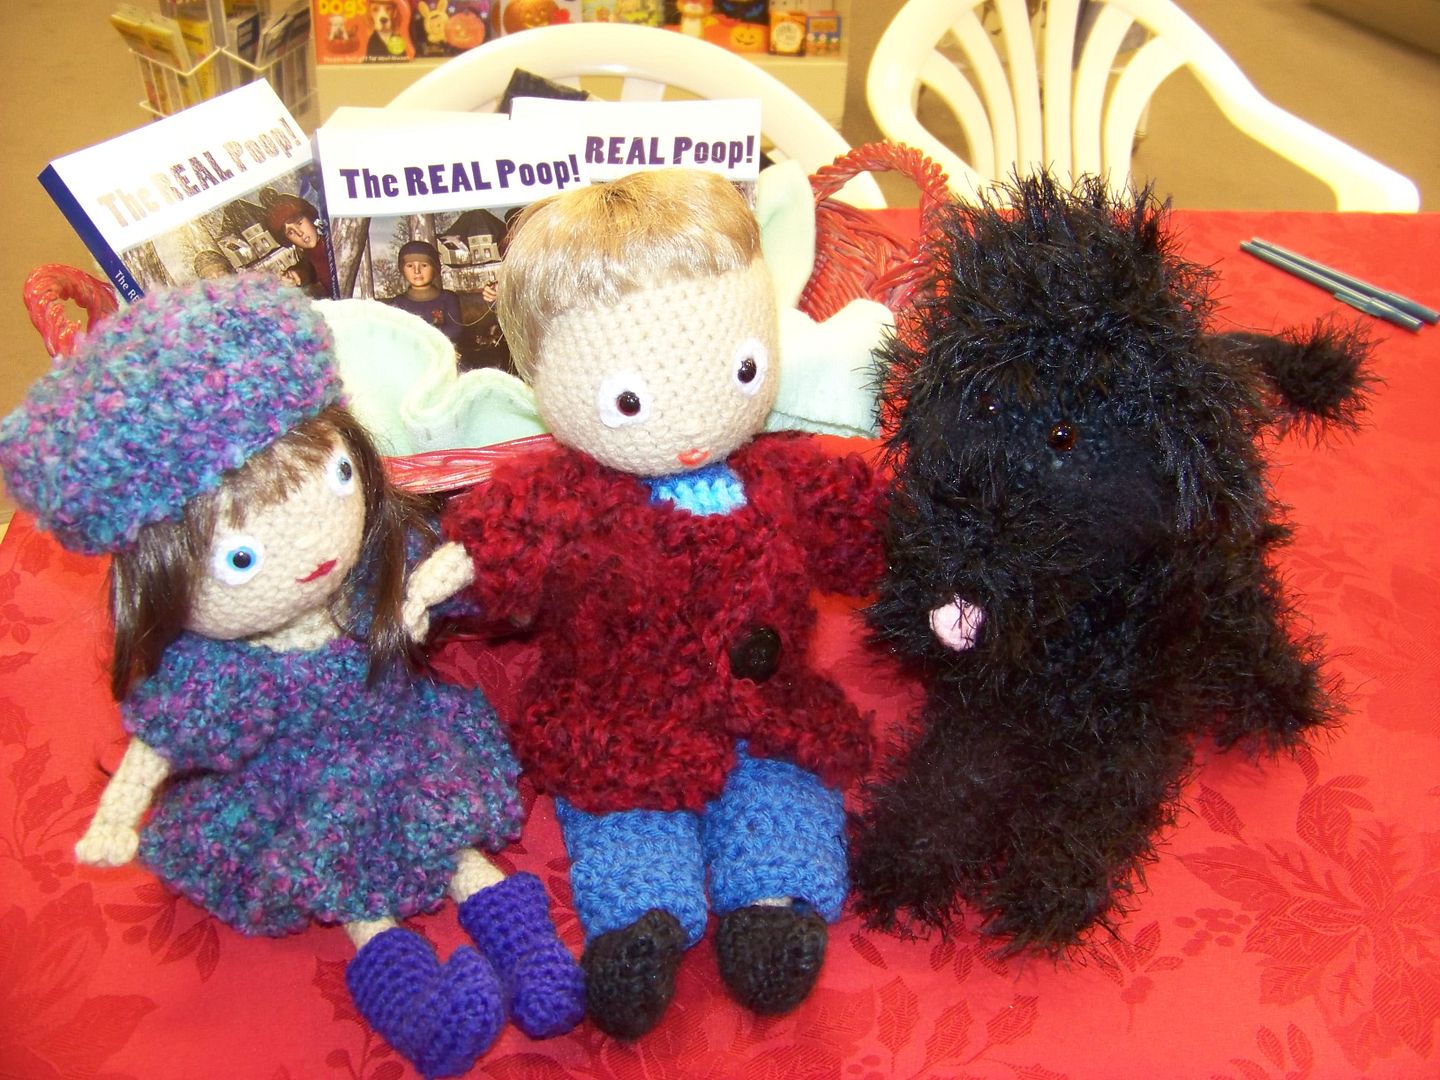
Anyway, I decided to try to make a few of these for part of my give away.
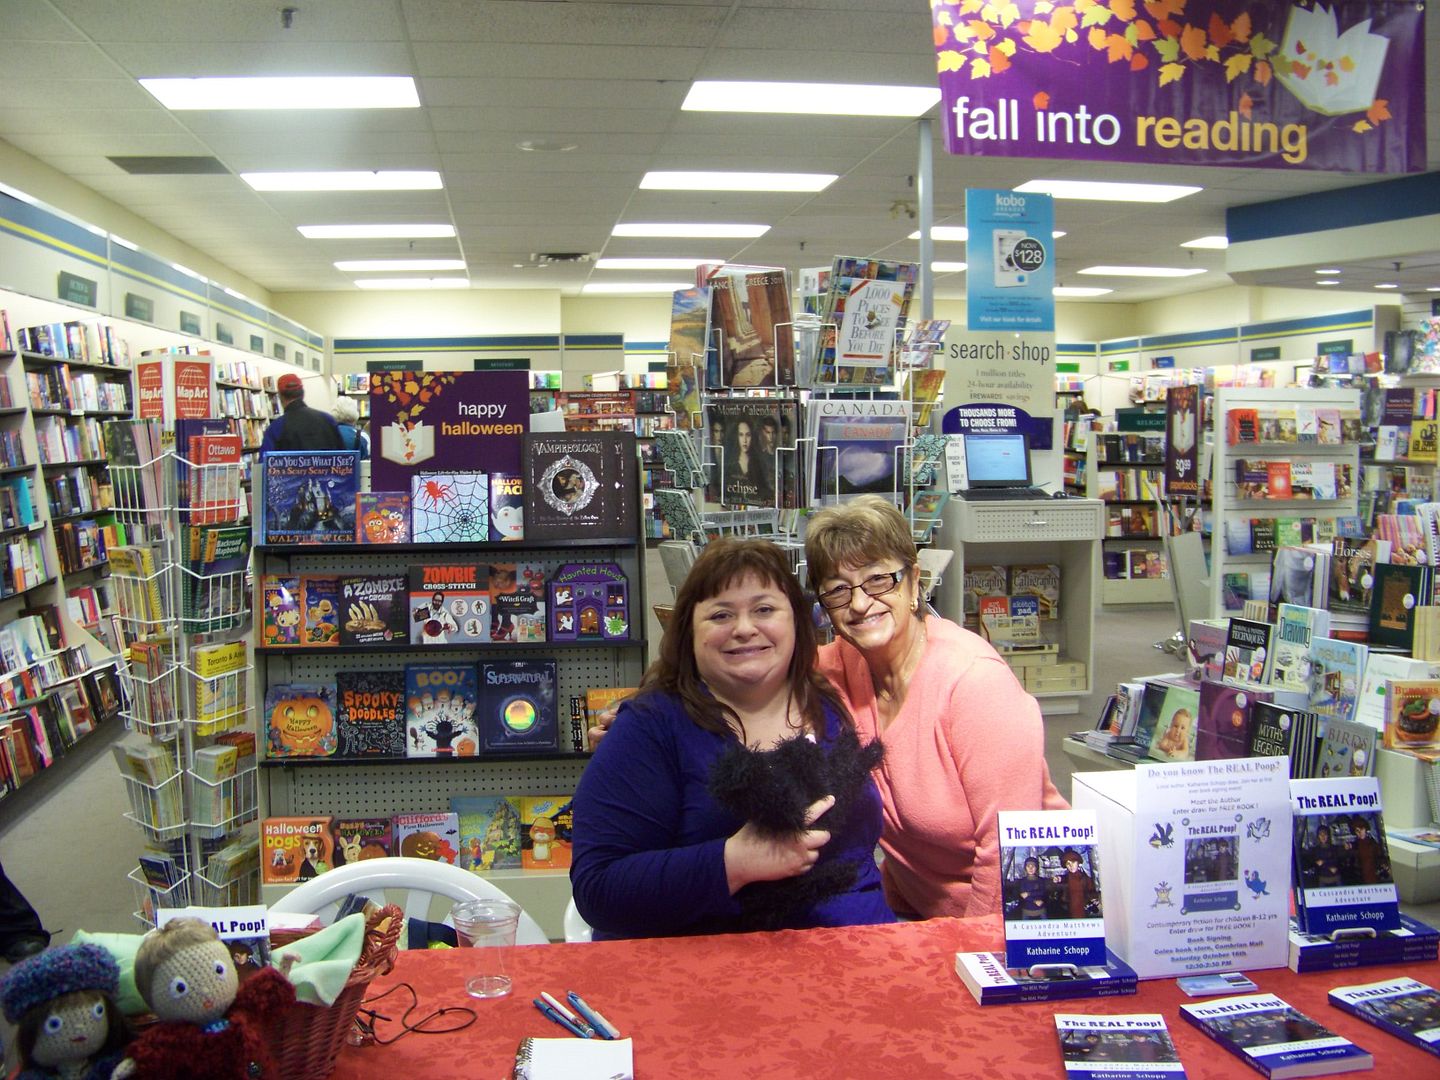
I liked the little guy in the front, sitting on the sled, since my book takes place in Canada, in Winter, and the kids do go tobogganing.
Well, I ran through two pairs of pantyhose before I finally managed to make a doll without getting a run in the nylon. The instructions were good; nice and clear, with pictures, so that even a beginner like me could follow. That's the good news.
The clothing instructions are the bad news. The little guy I'm making is called "Christopher", and the instructions for Chris start on page 14. I made it through step one (tracing the pattern pieces and cutting out the fabric) with some frustration. Then came step two. The first part of step 2 says, "sew shoes to body suit as described in Candy Striper, Step 2. "
The instructions don't give a page number showing where the Candy Striper is, so I had to flip through the book to find it. I found it on page 10. OK, not too bad, I thought.
Then part 2 of step 2. "Assemble Christopher in his body suit as described for Nurse Nightingale, but use Tommy's sleeve variation..."
Great...so now i had to look for Nurse Nightingale, who I found on page 10. Step 6 of Nurse Nightingale told me to fasten the hands as described for Elizabeth. I found Elizabeth on page 9. I read about Elizabeth and wished I'd started with her as a practice doll...her outfit only requires 4 pattern pieces instead of 6, plus hat, for Christopher. I forgot which page Chris was on and had to go back. When I did I discovered I'd forgotten to look for Tommy's sleeve variation. Tommy was on page 11. These instructions referred my back to Nurse Nightingale.
By now I was thoroughly frustrated and couldn't remember what I was doing. I had to start over with step 2. I decided I'd better read all of the steps before sewing.
Step 3 told me to "stitch and fasten pants as for Jessica." I found Jessica on page 12. Then back to page 14 for Christopher.
Step 4 told me to stitch and fasten body as described for Melissa. I found her on page 13.
Step 5 seemed like it would let me stay on page 14, until the very end, where it referred me to Melissa.
I think it would have been easier if they would have just printed the instructions...ALL of the instructions, for each doll without referring to the other dolls.
I am stuck, now, because the pattern piece for the sweater doesn't say to cut on a fold, but it is only a quarter of a sweater, and it says to cut 2 pieces. Which would give me half a sweater. In the picture that shows how to attach the sleeves to the sweater, it looks like the sleeve pattern should be the sweater pattern...it says to cut two, and they look exactly like the front and a back of a sweater. I don't know if there was a mistake on the pattern, or whether I'm just too confused right now to figure it out.
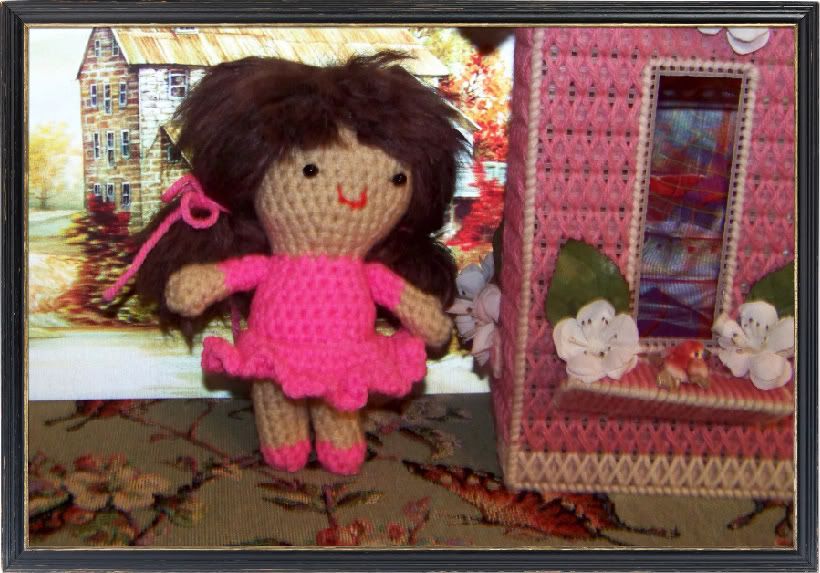
I think I may have to crochet the clothing, instead of sewing. Or maybe I'll just crochet the entire doll, clothing and all. The Stumpkin doll that I made is really cute, but very fragile, and would be meant to put on a shelf; it definitely wouldn't withstand play.